How to Clean a Sewing Machine
*This post contains affiliated links.
Read my disclaimer
I thought that it would be a good idea to learn how to care for our sewing machines before we started sewing.

One very important chore is to clean your machine and with this I mean to remove all the dust and lint that collects from the thread and fabric.
It is good practice to clean your machine after every project that you finish
(I do have to admit that I don't clean mine that often *blush*)
It is a good idea to clean your machine immediately if it starts to make any strange noises - like a thumping sound or if the motor sounds like it is struggling.
Cleaning the machine usually takes care of the problem, but if the problem persists, you may try oiling the machine - in next week's lesson we will be looking at how to oil your machine.
If this doesn't work, you will have to take it to a mechanic to prevent serious damage!
If this doesn't work, you will have to take it to a mechanic to prevent serious damage!
Now that you understand the importance of cleaning your machine, we will take a step-by-step look at how to do it.
What you need

2. Dust rag or piece of toiletpaper.
3. Screwdriver* - the right size screwdriver will usually be provided with your machine.
4. Brush* - usually included with the machine, but an old toothbrush will do the trick.
Let's take a look at how to clean a sewing machine


2. Remove the bobbin holder*

3. Remove the shuttle race cover (the metal ring that holds the shuttle hook in place) by rotating the two hooks, on either side, outwards.
Remember how it fits into the machine, you'll have to put it back in exactly the same way.
Remember how it fits into the machine, you'll have to put it back in exactly the same way.

4. Take out the shuttle hook.
Note how it fits into the machine, you don't want to struggle putting it back later.

5. Use the rag to wipe the inside of the shuttle cover - there is usually some fluff and oil spatter here.

6. Wipe the shuttle race cover and the shuttle hook - there is usually a black residue on the shuttle hook, so make sure to rub it thotoughly.

7. Use the brush to clean out the inside of the shuttle.

8. Unscrew the needle plate.

9. Remove the needle plate.

10. Be sure to keep all the loose parts together. It is a good idea to have a small plate or a bowl handy to put them in. You accidentally knock them down and end up finding that one of the screws have disappeared between the floor boards!!

11. Brush thoroughly between the feed dogs, under the presser foot.
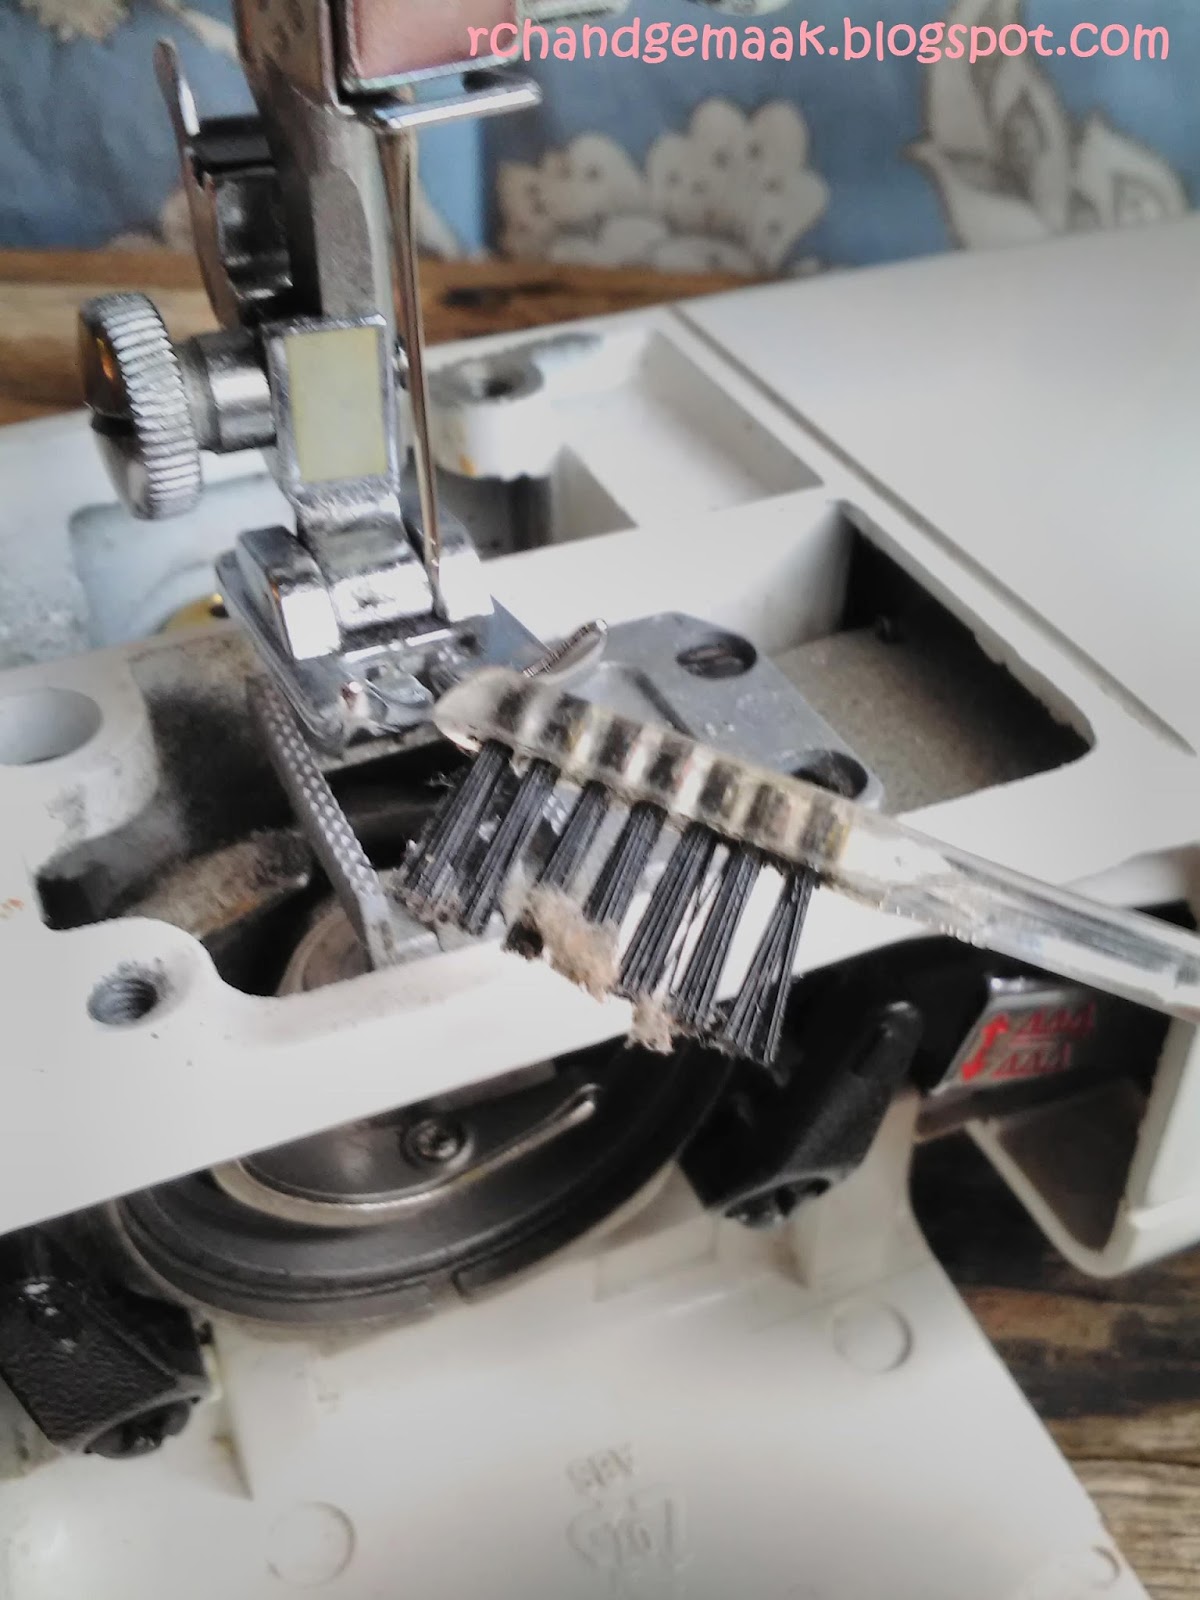
Look at all that fluff!!

12. I know that we are only doing the lesson on oiling next week, but while the needle plate is off, I like to oil the little gear at the back of the machine.

13. Put the needle plate back and screw it in place.

14. Put the shuttle hook back into the shuttle. This is a bit tricky, it fits like a piece of jiggsaw. So just be gentle and patient.

15. Put a drop of oil onto the sharp point of the shuttle hook.
Its important to always sew a scrap of fabric first, after oiling your machine.
The oil can stain the fabric, and the last thing we want is a big piece of expensive fabric with oil stains on it!!

16. Put the shuttle race cover back - you did remember to check how it goes back in right?!?
There is a small pin that points downwards, that keeps it in place and a small gap at the top for the arm of the bobbin holder.
Rotate the two clips, on either side of the shuttle race cover, inward so that it is firmly held in place.

17. Replace the bobbin holder with the arm facing upward, by holding on to the lever.

18. It's also a good idea to check the needle*
Remove the needle by loosening the needle clamp.

19. To test the point of the needle for potential burs (which means that you accidentally caught a pin or the like while sewing) Draw the needle lightly across your fingernail while rotating it. The needle needs to be replaced if it leaves a mark on your nail.
20. Put the needle back (or the new needle) with the flat side of the top towards the back and tighten the needle clamp firmly.
Now you have a nice clean machine with a sharp needle.
While you're at it, wipe the whole machine with a cloth.
You can also use your vacuum cleaner to clean the inside of your machine, but never use something to blow the dust out (like a compressor). This will only force the small dust particles into your machine's mechanical parts.
It is also a good idea to keep your machine covered when not in use, to keep dust at bay.
Geen opmerkings nie:
Plaas 'n opmerking